





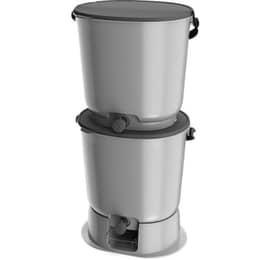
Skaza Essential Bokashi Composter
Capacity 15.3 litres, set of 2 buckets
£53.53 €64.17
Fast and odourless, compost worms eat your waste and turn it into worm casting for your plants.
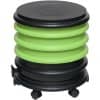
From 2 to 4 trays, with an optional planter.
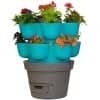
Up to 18 growing areas around a central wormery.
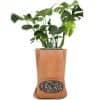
Terracotta with flower pot.
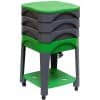
2 to 4 trays with a lower shelf.
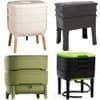
Trays you add over time, for easy harvesting of vermicompost.
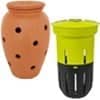
Turn your planters and flower beds into a wormery: WORMacotta, In-Ground.
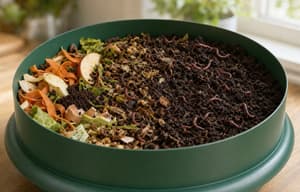 Practical guide
From the kitchen to the garden, your compost becomes simple, quick, and effective for everyone.
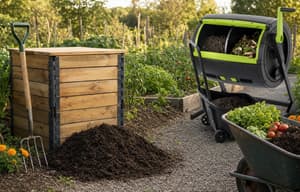 Practical guide
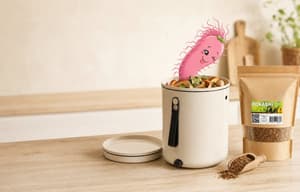 Practical guide
Live animals (worms and bait) and products to feed and care for pets and livestock.
Eisenia compost worms for your wormery or composter.
Ultra-fresh worms: compost worms, Dendros and Canadians from 100 g to 1 kg.

Natural solutions dedicated to the wellbeing of horses, ponies and donkeys.

Optimise the health and performance of your farm.

Mealworms, natural and nutritious supplements.
Enhance your home with our decorative items and care for your house in a natural and sustainable way.
Garden in an eco-friendly way that respects nature, for healthy and sustainable plants.
EM-based products designed to enrich soils, protect plants, support animal health, and make everyday well-being and maintenance easier.

Contains a blend of 80 families of beneficial microorganisms.
Revitalise, purify and improve water quality in all your applications.
Stimulate soil microbial activity and plant growth.

Cleanse and maintain your environment naturally.

For the wellbeing and health of pets, livestock and horses.

Enrich your body care or dietary routines with essential enzymes.
 Practical guidePractical guide


Has your bokashi bin just arrived along with your bag of activator? Good news: the method is simple and only takes a few steps, always the same ones. You do, however, need to do them in the right order, because successful bokashi mainly comes down to three things: little air, little liquid and enough bran.
Here is how your first cycle works from start to finish, from the very first peeling to the bin left to rest, along with the most common mistakes so you can avoid them right from the start.
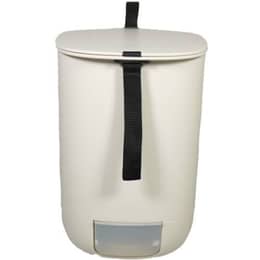
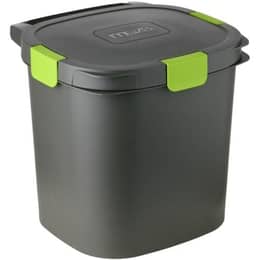
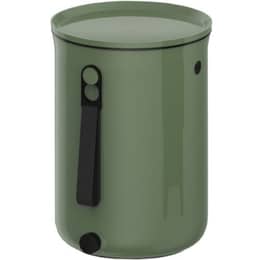
 An airtight bokashi bin, with a grid at the bottom to separate the liquid and a tap or plug to drain it. Shop-bought models, such as the Comfort Bokashi Composter or the Skaza Organko 2 Bokashi Composter, come with a waste presser.
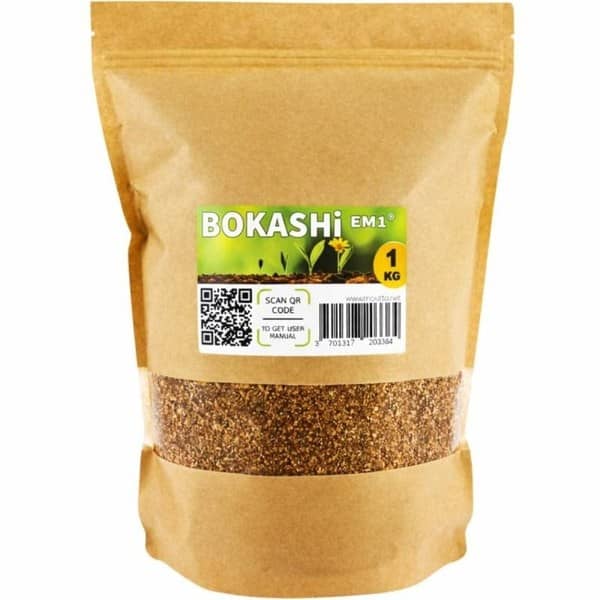
 A bokashi activator, in other words bran fermented with micro-organisms, such as our Bokashi EM Compost Activator.
 A measuring scoop: the spoon supplied with your bin, or our 20 ml Measuring Spoon.
 Something to press down with: the bin's presser, a potato masher, a small plate, or even your hand covered with a bag.
 A small kitchen bin with a lid, to collect the day's waste before adding it to the bokashi bin.
 Ideally, a second bin, which takes over while the first one ferments. We cover this in our guide Why use two bokashi bins.
Place the bin in a room at a moderate temperature, ideally between 18 and 25 °C, out of direct sunlight: under the sink, in a pantry or a utility room. Position it so that you can slip a glass under the tap.
The smaller the pieces, the faster the fermentation and the more effectively you can press it down. Aim for pieces between the size of a walnut and a golf ball, so 3 to 4 cm at most. Quarter lemon halves, cabbage stalks and melon skins, break up bread crusts and chop thick stems.
Drain wet leftovers well and leave out liquids: soup, milk, juice, oil. Anything liquid hinders fermentation. For details of what can and cannot go in the bin, see our guide What waste to put in a bokashi bin.
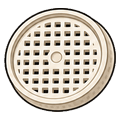 Sprinkle a dose of activator over the bottom of the bin, on the grid: about 20 ml.
 Add a layer of waste 3 to 5 cm thick.Sprinkle another dose of activator, enough to cover the surface without burying it in bran: one 20 ml spoon, which is roughly one heaped tablespoon or a small handful.Press down firmly to push out the air, without crushing it with all your might. With the Organko 2 presser, take it out, lay it flat on the waste, press gently and leave it in place.
 Close the lid tightly.
Instructions and guides do not all give the same dose: anything from one 20 ml spoon to two tablespoons per addition. We recommend starting with 15 to 20 ml per 3 to 5 cm layer, and adding more for meat, fish, cheese, very wet waste and when the weather is cool. Our guide Bokashi bran: its role, dosage and storage explains these adjustments in detail.
Emy's tipIf your bin has no presser, lay a flat plate or a plastic bag directly on top of the last layer, under the lid. It stops air from circulating over the surface and you can also use it to press down the next layer.
 Bokashi likes peace and darkness. Every time you open the bin, air gets in, which encourages unwanted mould. So collect your waste in the small kitchen bin and empty it into the bokashi bin once a day, or every other day. Open it once or twice a day, no more.
With each addition, repeat the same steps: a layer of waste, a dose of bran, press down, close. Never stir the contents: bokashi works without air, and stirring lets oxygen in. Just press down, that's all.
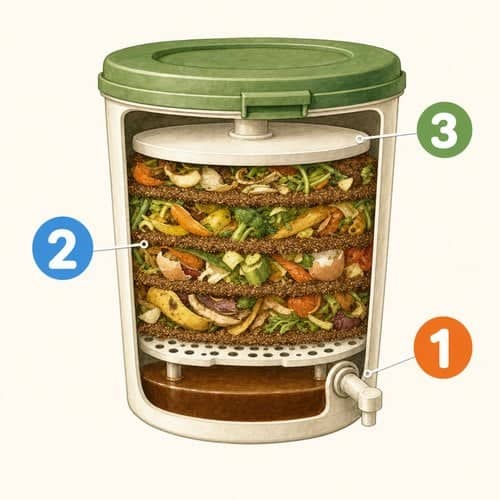
After a few days, liquid starts to collect under the grid. Drain it every two or three days, then close the tap firmly. This liquid is very acidic: never use it neat on plants, only diluted to at least 1 in 100 (1 cl per litre of water), poured at the base of the plant, not on the leaves. All the routine care is explained in our guide Looking after your bokashi. In the diagram: the grid and the liquid tap (1), the layers of waste sprinkled with bran (2) and the plate pressing down (3).
Did you know?Don't worry if your first bin produces hardly any liquid in the first few days, or if a fine white fuzz appears on the surface. The amount of liquid depends mainly on your waste, with fruit and vegetables producing far more than bread or cooked leftovers, and the white film is a sign that fermentation is getting off to a good start.
When the waste reaches a few centimetres below the lid, filling is complete. Press down one last time, then sprinkle a double dose of activator over the whole surface. Put the plate or bag back, close tightly and write the date on a piece of sticky tape.
Ideally, a bin should take about two weeks to fill. If it fills in two days, it is too small for your household; if it takes more than a month, it is a bit too big, and the surface stays exposed to air for longer.
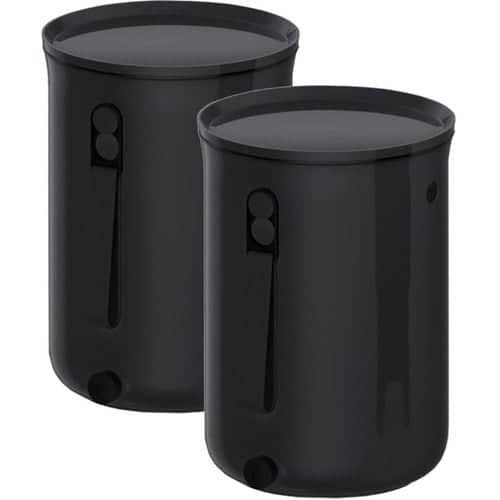 Once the final layer is in, leave the bin closed for at least two weeks at room temperature. Do not open it again, except to drain the liquid through the tap. Allow an extra one to two weeks in winter if the room is cool. Meanwhile, start filling the second bin.
When you open it, successful bokashi smells sour, like pickles or cider, sometimes with a white film. The waste will have kept its shape: this is normal, as it is fermented rather than decomposed. To learn how to tell when a bin is ready, read our guide How long does fermentation take.
This pre-compost then needs to go back into the soil: buried 20 to 30 cm deep, well mixed with the soil and away from roots, waiting at least two weeks before planting. Then rinse the bin with hot water, without bleach, and it is ready for a new cycle.
Key pointsThe five steps of bokashi: chop small, sprinkle, press down, close, drain. Then two weeks of rest with the lid closed, before returning it all to the soil.
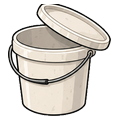 Opening the bin for every peeling: use a small collection bin first.
 Stirring the contents: press down, never mix.Being stingy with bran: if in doubt, add a little more, especially on meat or fish leftovers.
 Adding liquids or soggy leftovers: drain them, and leave out soups and sauces.
 Forgetting to drain: liquid sitting under the grid soon makes the bin smell bad.
 Leaving the tap slightly open or the lid not properly clipped: air gets in and the fermentation goes off.
 Adding food that is already rotten: it brings in putrefying microbes.
 Emptying the bin too soon or using its contents on the surface as mulch: it is acidic and must be buried.
 Panicking at the sight of white: white fuzz is a good sign. Green, blue or black patches, however, point to a problem: see our guide Mould in bokashi.
To start bokashi, all you need is an airtight bin, an activator and a little method. Chop your waste into small pieces, add it in layers of 3 to 5 cm, sprinkle each layer with about 20 ml of bran, press down, close, and group your additions so you open the bin as rarely as possible. Drain the liquid every two or three days. Once the bin is full, finish with a double dose of bran and leave it closed for at least two weeks while you fill the second one. All that's left then is to return this pre-compost to the soil.
Scan the code or visit mouttafarm.co.uk/guide: all our practical guides, with links to the products mentioned.



 France
 Belgium
 Switzerland
 Germany
 Austria
 Italy
 Spain
 Holland
 Portugal
 Ireland
 Sweden
 Finland
 Denmark
 Greece
 Poland
 Rumania
 Czech Republic
 USA