




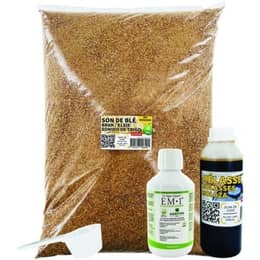
Kit to make your own Bokashi & Compost Activator | 4 kg Kit
Complete 4 or 8 kg kit
£17.37 €20.82
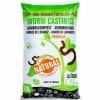
Fast and odourless, compost worms eat your waste and turn it into worm casting for your plants.
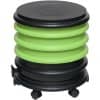
From 2 to 4 trays, with an optional planter.
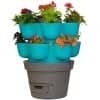
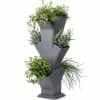
Up to 18 growing areas around a central wormery.
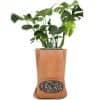
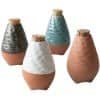
Terracotta with flower pot.
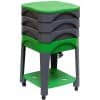
2 to 4 trays with a lower shelf.
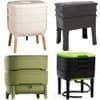
Trays you add over time, for easy harvesting of vermicompost.
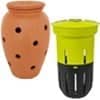
Turn your planters and flower beds into a wormery: WORMacotta, In-Ground.
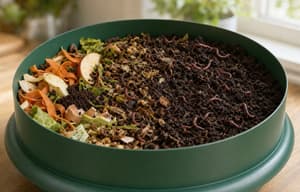 Practical guide
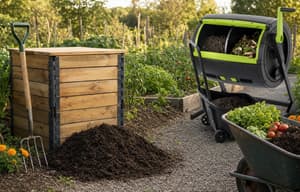
From the kitchen to the garden, your compost becomes simple, quick, and effective for everyone.
 Practical guide
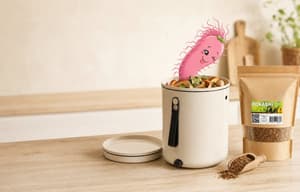 Practical guide
Live animals (worms and bait) and products to feed and care for pets and livestock.
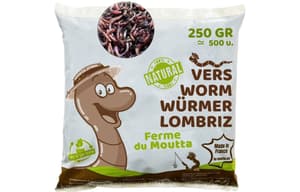
Eisenia compost worms for your wormery or composter.
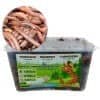
Ultra-fresh worms: compost worms, Dendros and Canadians from 100 g to 1 kg.

Natural solutions dedicated to the wellbeing of horses, ponies and donkeys.

Optimise the health and performance of your farm.
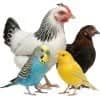
Mealworms, natural and nutritious supplements.
Enhance your home with our decorative items and care for your house in a natural and sustainable way.
Garden in an eco-friendly way that respects nature, for healthy and sustainable plants.
EM-based products designed to enrich soils, protect plants, support animal health, and make everyday well-being and maintenance easier.
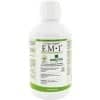
Contains a blend of 80 families of beneficial microorganisms.
Revitalise, purify and improve water quality in all your applications.
Stimulate soil microbial activity and plant growth.

Cleanse and maintain your environment naturally.

For the wellbeing and health of pets, livestock and horses.

Enrich your body care or dietary routines with essential enzymes.
 Practical guidePractical guide

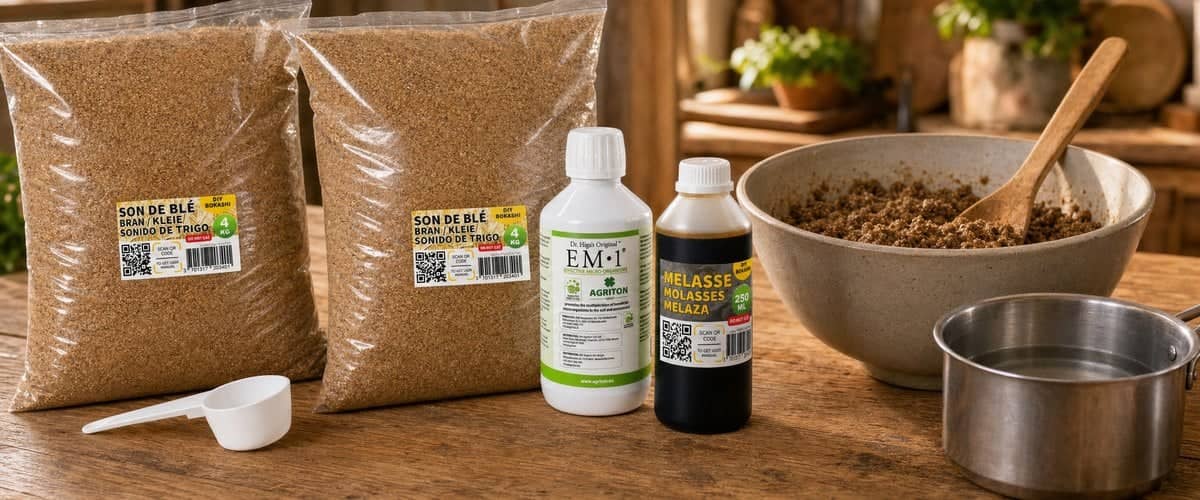
Bokashi bran, the activator you sprinkle over each layer of waste, is easy to make at home: three ingredients, an hour's preparation at most, then three weeks of patience. It soon pays for itself if you use bokashi all year round.
Here is our tried-and-tested recipe, the one that goes with our kit, with pointers for judging the result, drying it and storing it, plus an EM-free variation. And if you enjoy making things yourself, you can make the bucket too: see our guide Making your own bokashi bucket.
For 1 kg of wheat bran, you will need:
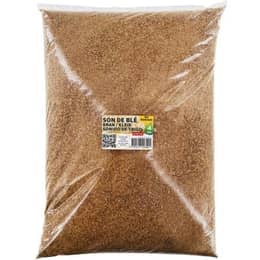
 1 kg of wheat bran, thoroughly dry and with no musty smell. Our GMO-free wheat bran is ideal;
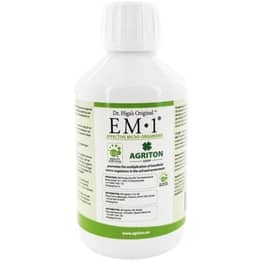
 30 ml of EM-1, the stock solution of effective microorganisms: our EM-1 Stock Solution;
 30 ml of molasses, which feeds the microorganisms. Cane or beet molasses, it makes no difference: both provide the sugars the ferments need. Our beet molasses, the one in our kit, is therefore ideal, as is our sugar cane molasses. Choose pure molasses with no additives;
 500 ml of non-chlorinated water.
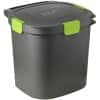
Equipment: a saucepan, scales, a measuring jug, a spoon, a large bowl, an opaque black bin bag, and an airtight container large enough to hold the bag (a bucket with a lid or a large box).
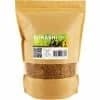
To save hunting around, our kit for making your Bokashi & Compost activator contains 4 or 8 kg of wheat bran from the Gers, 250 ml of EM-1, 250 ml of beet molasses from the Béarn, a 20 ml measuring spoon and the recipe: enough to make up to 8 kg of activator, ideally in 1 kg batches so it is always fresh. You will just need to provide the non-chlorinated water, scales, saucepan, bowl, black bag and airtight container.
The chlorine in tap water keeps microbes in the pipes in check. As EM manufacturers point out, it also reduces the vitality of the microorganisms you want to put to work, and can make the fermentation fail.
Tap water: leave it to stand for 24 hours in the open air, in a wide, uncovered container, so the chlorine evaporates. The simplest way is to prepare it the evening before. Other options: carbon-filtered water (from a filter jug) or still bottled spring water.
Temperature matters too: microorganisms get going best in lukewarm water, between 25 and 30 °C. Water that is too hot can kill some of them: never pour EM-1 into hot water. Without a thermometer, it should feel barely warm on the inside of your wrist.
 Warm the water: gently heat 500 ml of non-chlorinated water in the saucepan to 25–30 °C. It must never boil.Add the EM-1: pour 30 ml of EM-1 into the lukewarm water and stir with the spoon.Add the molasses: pour in 30 ml of molasses and stir again until fully dissolved.Weigh the bran: tip 1 kg of wheat bran into the bowl.
 Moisten the bran with the mixture a little at a time, mixing as you go. The bran swells as it absorbs the liquid.
 Knead thoroughly by hand to spread the moisture evenly, until the bran forms balls that break apart easily.
 Bag it: put the bran into the black bag, press it down to push out as much air as possible, then close the bag with a tight knot.
 Seal the bag inside the airtight container, kept somewhere warm and dark.
 Wait three weeks without ever opening it.
To make a liquid activated solution (EM-A) instead, see our guide Activating EM-1.
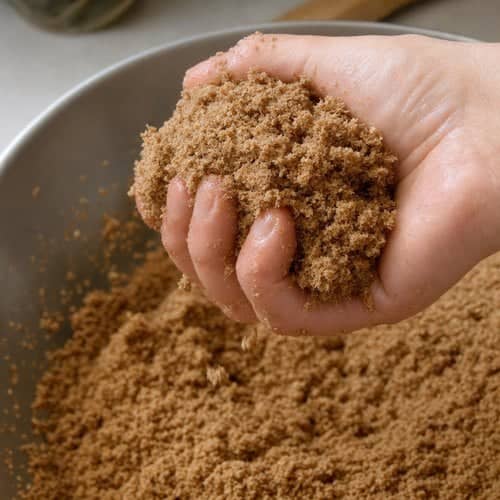 This is the crucial point. Squeeze a handful in your hand:
 it is just right if it forms a ball that holds together, then crumbles easily between your fingers, without a single drop running out;
 it is too wet if water beads between your fingers or the ball sticks together like dough: add a small handful of dry bran and knead again.
Do not add any water beyond the 500 ml: overly wet bran is the main cause of green or black mould. If it seems a little dry at first, knead for longer: the bran absorbs the liquid gradually.
During these three weeks, lactic acid bacteria and yeasts multiply by feeding on the molasses, without oxygen. Just as in your bokashi bucket, air is the enemy.
Do not open the bag, not even for a quick look. The air that gets in may be enough to spoil the fermentation. Keep it warm, ideally between 20 and 30 °C, out of the light, in a cupboard for example. In the cold, fermentation slows down; avoid frost as well as the top of a radiator.
Some recipes settle for two weeks; we prefer three to be on the safe side, especially in a cool house.
Did you know?The white film that sometimes appears on fermented bran is the same as in a successful bokashi bucket: a good sign, not a mould to worry about.
 the bran smells fermented: a sweet-and-sour smell of yeast, beer or cider, sometimes slightly alcoholic;
 a white fuzz covers part of the surface, or nothing is visible: both are normal.
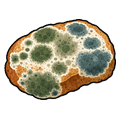 green, blue, black or pink mould has appeared;
 the bran smells rotten, of sewage or of mould.
Spoiled bran cannot be saved: put it in the compost bin or bury it, then start again, paying attention to the moisture, the water and how well the bag is sealed.
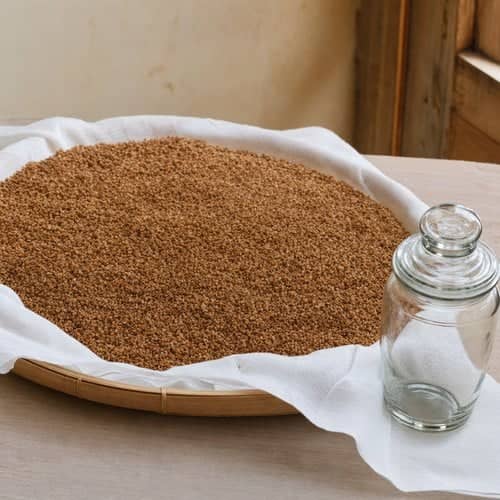 Your bran is ready. You have two options:
Use it as it is, moist: keep it in an airtight container, out of the sun, in a cool, dry place, and close it properly after each use. Ideally use it within the following weeks. Dry it so it keeps for about a year: spread it in a thin layer on a tray or a clean cloth, in a dry, well-ventilated room, out of direct light. Turn it from time to time. Allow a few days: it should be dry and crumbly, with no dampness to the touch.
Avoid the oven, radiators or direct sun: too much heat damages the microorganisms. Once dry, store it in a jar or a tightly closed bucket, somewhere dry and dark. When you come to use it, it should still smell sour or yeasty; if it smells musty, replace it. For how much to use in the bucket, see our guide Bokashi bran: role, dosage and storage.
Emy's tipWrite the date it was made on the jar with a marker pen. You will see at a glance which batch to use first, and when to start the next one.
How much should you make? A family of four typically uses 2 to 6 kg of bran a year, so 1 kg lasts roughly two to six months, depending on your waste and how generous you are with it.
Some gardeners replace EM-1 with a homemade lactic acid bacteria serum. The idea: leave rice rinsing water to ferment in the open air for a few days, then add a small amount of it to milk, which curdles in about a week. The yellowish liquid collected is then used like EM-1, with molasses and bran.
This method works for many people, but it has its limits: the microorganism population is not controlled and varies from one batch to the next, it is less diverse than EM (so you sprinkle a little more bran into the bucket), and preparing it adds two to three weeks, with a greater risk of failure.
Does EM really make a difference? Published studies are scarce, and some trials found no difference in plant growth between bokashi made with or without EM: we look at this in our guide Bokashi and effective microorganisms: what the science really says. For consistent results, we recommend EM-1, the most reliable and simplest option.
Key pointsOur recipe: 1 kg of wheat bran, 500 ml of non-chlorinated water at 25–30 °C, 30 ml of EM-1 and 30 ml of molasses. Moist but not soggy bran, a firmly packed black bag inside an airtight container, three weeks somewhere warm without opening, then drying in the shade so it keeps for a year.
Making your own bokashi bran is simple: 500 ml of lukewarm non-chlorinated water, 30 ml of EM-1, 30 ml of molasses and 1 kg of wheat bran, kneaded until the bran is moist but not soggy, then three weeks of fermentation in a firmly packed black bag, kept warm and unopened. A fermented smell and possibly a white film mean success; coloured mould or a rotten smell mean failure. Used promptly, or dried in the shade to last a year, it replaces shop-bought activator.
Scan the code or visit mouttafarm.co.uk/guide: all our practical guides, with links to the products mentioned.




 France
 Belgium
 Switzerland
 Germany
 Austria
 Italy
 Spain
 Holland
 Portugal
 Ireland
 Sweden
 Finland
 Denmark
 Greece
 Poland
 Rumania
 Czech Republic
 USA