





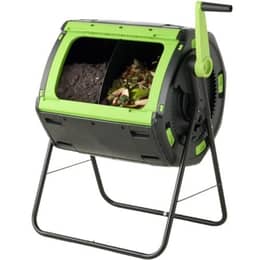
Maze 180L Double Chamber Rotating Composter
Effortless outdoor composting
£124.43 €149.17
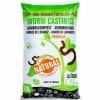
Fast and odourless, compost worms eat your waste and turn it into worm casting for your plants.
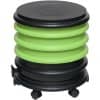
From 2 to 4 trays, with an optional planter.
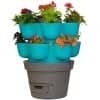
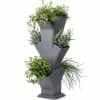
Up to 18 growing areas around a central wormery.
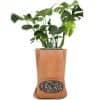
Terracotta with flower pot.
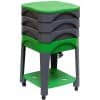
2 to 4 trays with a lower shelf.
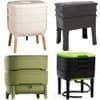
Trays you add over time, for easy harvesting of vermicompost.
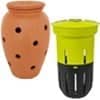
Turn your planters and flower beds into a wormery: WORMacotta, In-Ground.
 Practical guide
From the kitchen to the garden, your compost becomes simple, quick, and effective for everyone.
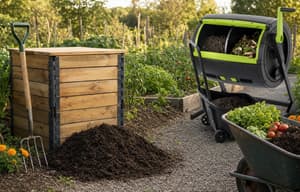 Practical guide
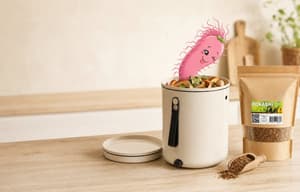 Practical guide
Live animals (worms and bait) and products to feed and care for pets and livestock.

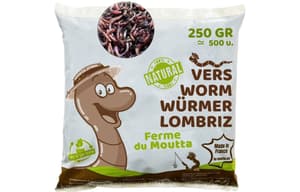
Eisenia compost worms for your wormery or composter.
Ultra-fresh worms: compost worms, Dendros and Canadians from 100 g to 1 kg.

Natural solutions dedicated to the wellbeing of horses, ponies and donkeys.

Optimise the health and performance of your farm.

Mealworms, natural and nutritious supplements.
Enhance your home with our decorative items and care for your house in a natural and sustainable way.
Garden in an eco-friendly way that respects nature, for healthy and sustainable plants.
EM-based products designed to enrich soils, protect plants, support animal health, and make everyday well-being and maintenance easier.

Contains a blend of 80 families of beneficial microorganisms.

Revitalise, purify and improve water quality in all your applications.
Stimulate soil microbial activity and plant growth.

Cleanse and maintain your environment naturally.

For the wellbeing and health of pets, livestock and horses.

Enrich your body care or dietary routines with essential enzymes.
 Practical guidePractical guide

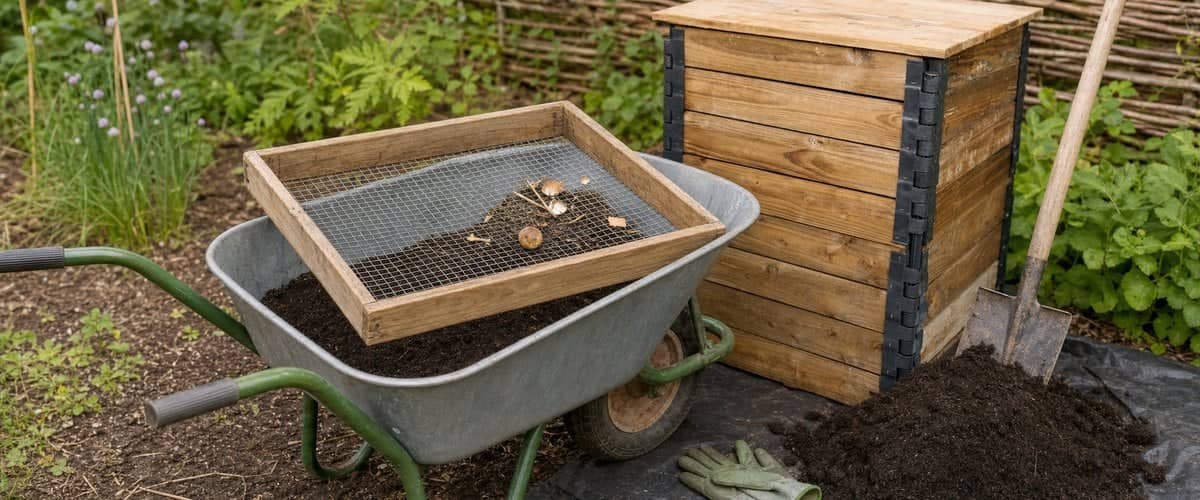
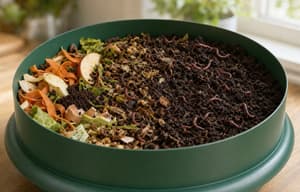
Your compost has passed the maturity tests: it is dark, it smells like the forest floor and it crumbles between your fingers. All that remains is to get it out of the composter without disturbing what is still decomposing, to refine it if necessary, and to store it in good conditions until you use it.
If you are not yet sure it is ready, start with our guide How to tell if your compost is mature. For wormeries, the method is different: it is explained in our guide Harvesting vermicompost and worm tea.
The principle is always the same: the oldest, and therefore most mature, compost is at the bottom, and recent additions stay at the top. How you reach it depends on your equipment.
Most compost bins have one or more hatches at the base of the sides. Open them and take out the mature compost from the bottom, with a shovel or a hand cultivator, leaving the top to carry on working. The contents gradually settle, and you can come back to harvest again a few months later.
Remove the top layer, which is still only partly decomposed, and set it aside on a tarpaulin. Then collect the mature compost from the bottom. Finally, put the material you set aside back into the bin: it will start a new cycle, along with the worms and micro-organisms it contains.
The first bin receives fresh waste, and the second is used for maturing. When the first is full, its contents are transferred to the second. Keep the materials in the order they arrived when you transfer them: the oldest should end up at the bottom. It is from this second bin that you will harvest the mature compost.
Move aside the outer part and the top of the heap, which are often less advanced, and take the core and the base. The rest will be used to start the next heap.
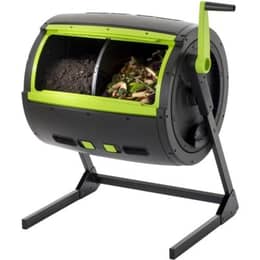
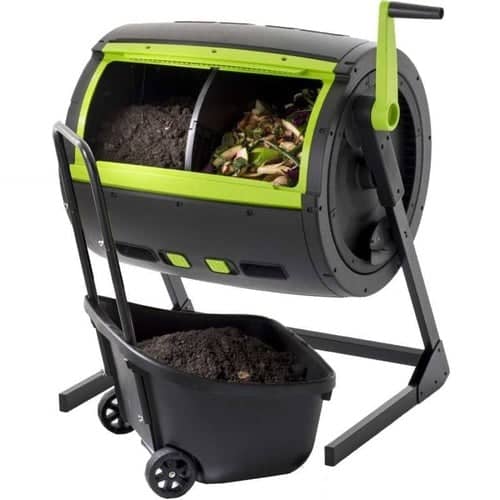 With a two-compartment tumbler, you fill one side, then leave it turning without adding anything while you fill the other. When the first side no longer contains any recognisable waste, empty it into a wheelbarrow or a cart.
Please note: what you get is fresh, still coarse compost, not mature compost. Let it finish maturing in a heap for 3 to 5 months, or spread it over bare soil in autumn. Used too early around plants, it can turn them yellow. Placed in a heap directly on the ground, it can be colonised by soil worms, which cannot live in the drum. You will find all the details in our guide Tumbler composters: how they work and their real limits.
Sieving is not compulsory. For mulching, enriching the base of trees or raking compost into the surface of the vegetable patch, unsieved compost is perfectly suitable. Sieving becomes useful when you need a fine, even material: spreading on the lawn, mixes for sowing and potting on, window boxes.
A simple wooden frame covered with wire mesh will do the job. For everyday use, a mesh of around 1 cm gives good results, with compost fine enough for the lawn and pots. For very fine seed compost, you can pass the compost through a hand sieve with a finer mesh.
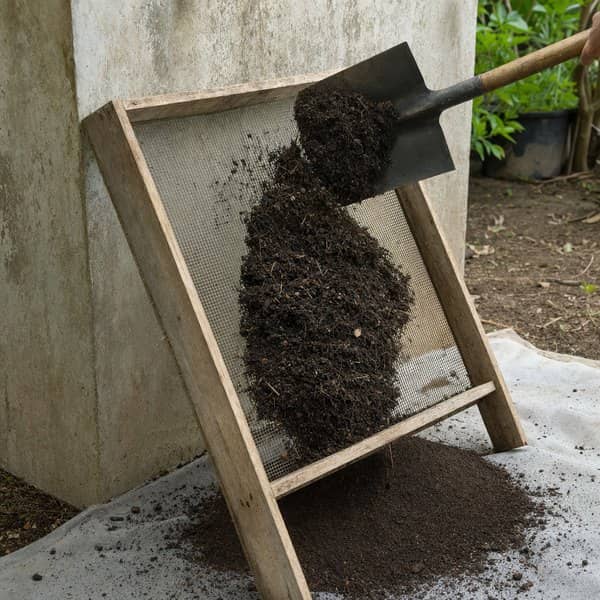
 Lean the frame at an angle against a wall or rest it on a wheelbarrow;
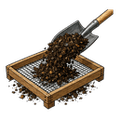 throw the compost onto it with a shovel, or rub it through with a gloved hand;
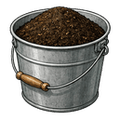 collect the fine compost that passes through, and set aside the leftovers;
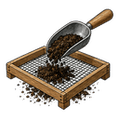 work in small batches rather than all at once.
Willy's tipSieve in dry weather, using compost that has been left to drain for a few days under a lid. Soaking wet compost sticks to the mesh and clogs it; compost that simply feels cool to the touch passes through much more easily.
Remember to wear gloves, and a dust mask if the compost is dry: it is a simple precaution against health risks that are rare but real. Wash your hands after harvesting, as with any gardening work.
Eggshells, fruit stones, cabbage stalks, bits of branches: these leftovers are not waste, they are materials that simply need one or two more cycles. You have two options:
Only items that should never have been there, such as plastic fruit stickers or a forgotten bag, go in the bin.
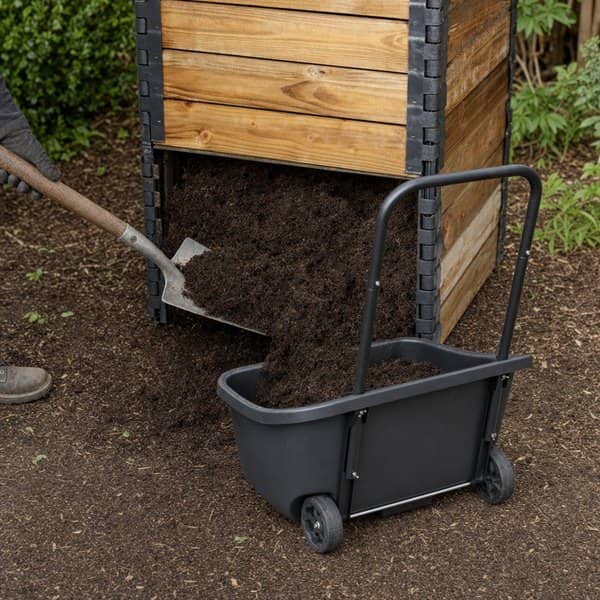
Ideally, you should use your compost within a few weeks of harvesting it. If you need to keep it for longer, two enemies lie in wait: rain, which washes its nutrients down into the soil, and drought, which kills off its microbial life.
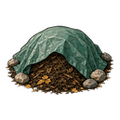 For a few weeks to a few months, pile it in a heap and cover it with a tarpaulin held down by a few stones, or with a layer of straw about ten centimetres thick;
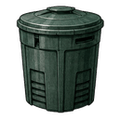 for small quantities, a container or bin with a lid simply placed on top, not airtight, works very well;
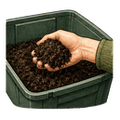 for long-term storage, check from time to time that it stays slightly moist, and turn it if necessary.
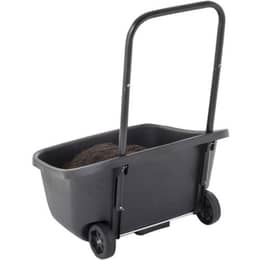
To take your harvest to the vegetable patch without carrying it at arm's length, our 55-litre compost collection cart slides in at the foot of the composter.
In a composter at the foot of a block of flats or in a neighbourhood, people don't each harvest on their own. The harvest is organised by the site coordinators when the maturing bin is ready. It is often a sociable occasion: people sieve together, share the compost among the participants, and put the leftovers back in the feeding bin. If your building does not have enough green space to use it all, the surplus can go to the window boxes in the communal areas or to a nearby community garden. We explain how these sites are organised in our guide Shared composters: a user's guide.
Key pointsAlways harvest from the bottom, where the oldest compost is. Only sieve for uses that require fine compost, put the leftovers back in the composter, and protect your harvest from the rain if you store it.
Harvesting your compost means fetching the oldest material from the bottom of the bin, through the hatch or by setting aside the top layer. Compost from a tumbler, on the other hand, still needs to mature for a few months in a heap. Sieving, with a mesh of around 1 cm, is only useful for the lawn, sowing and pots; the coarse pieces simply go back into the composter. Covered and slightly moist, your compost will wait happily until it is time to go into the garden: for the right quantities, see our guide Using your compost in the garden.
Scan the code or visit mouttafarm.co.uk/guide: all our practical guides, with links to the products mentioned.




 France
 Belgium
 Switzerland
 Germany
 Austria
 Italy
 Spain
 Holland
 Portugal
 Ireland
 Sweden
 Finland
 Denmark
 Greece
 Poland
 Rumania
 Czech Republic
 USA