





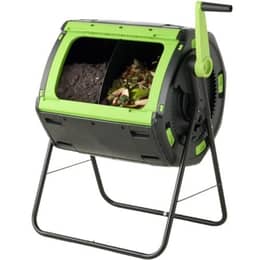
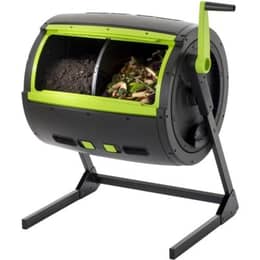
Maze 180L Double Chamber Rotating Composter
Effortless outdoor composting
£124.43 €149.17
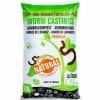
Fast and odourless, compost worms eat your waste and turn it into worm casting for your plants.
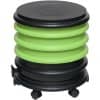
From 2 to 4 trays, with an optional planter.
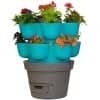
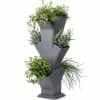
Up to 18 growing areas around a central wormery.
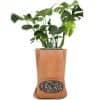
Terracotta with flower pot.
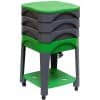
2 to 4 trays with a lower shelf.
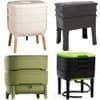
Trays you add over time, for easy harvesting of vermicompost.
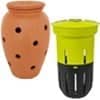
Turn your planters and flower beds into a wormery: WORMacotta, In-Ground.
 Practical guide
From the kitchen to the garden, your compost becomes simple, quick, and effective for everyone.
 Practical guide
 Practical guide
Live animals (worms and bait) and products to feed and care for pets and livestock.

Eisenia compost worms for your wormery or composter.
Ultra-fresh worms: compost worms, Dendros and Canadians from 100 g to 1 kg.

Natural solutions dedicated to the wellbeing of horses, ponies and donkeys.

Optimise the health and performance of your farm.

Mealworms, natural and nutritious supplements.
Enhance your home with our decorative items and care for your house in a natural and sustainable way.
Garden in an eco-friendly way that respects nature, for healthy and sustainable plants.
EM-based products designed to enrich soils, protect plants, support animal health, and make everyday well-being and maintenance easier.

Contains a blend of 80 families of beneficial microorganisms.

Revitalise, purify and improve water quality in all your applications.

Stimulate soil microbial activity and plant growth.

Cleanse and maintain your environment naturally.

For the wellbeing and health of pets, livestock and horses.

Enrich your body care or dietary routines with essential enzymes.
 Practical guidePractical guide

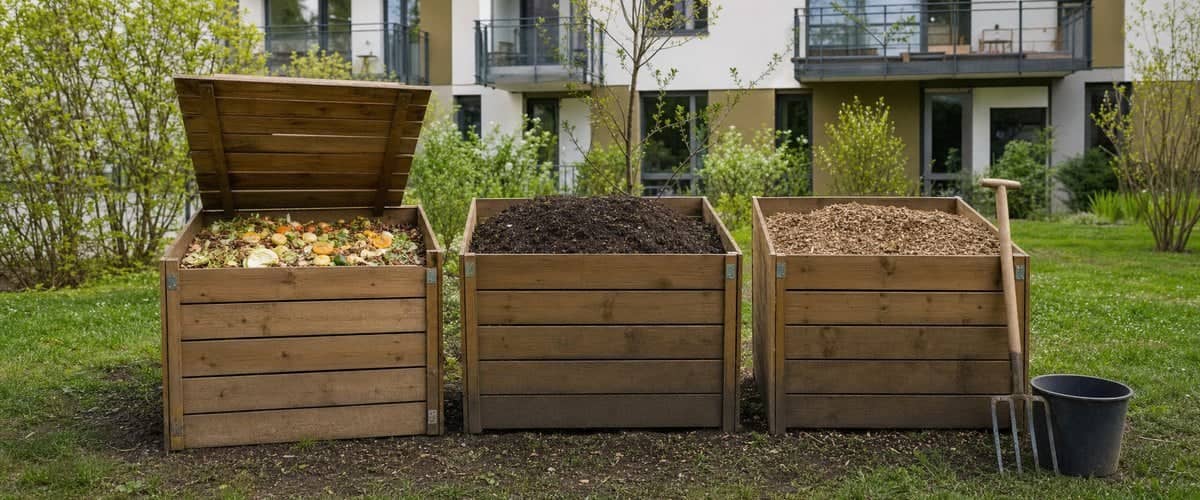
A compost bin at the foot of a block of flats, a few wooden bins in the corner of a square, neighbours bumping into each other on a Saturday morning with their kitchen caddies: shared composting has taken root in many towns and cities. It is a valuable solution for people without a garden, and often a lovely way to bring neighbours together.
How does a shared compost bin work, how can you set one up in your building, and what rules should you follow to keep it clean and effective? Here is our practical guide.
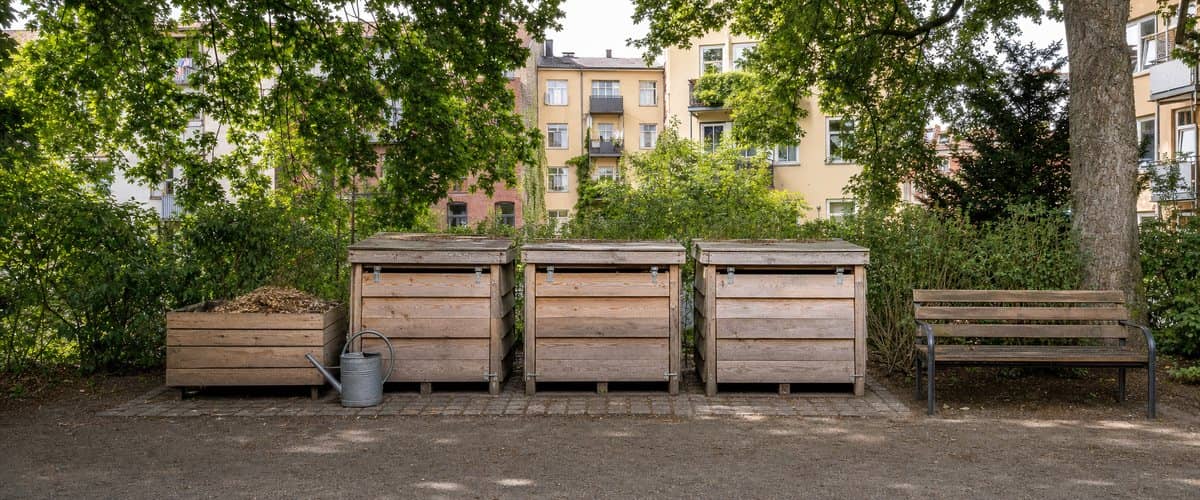
There are three forms of local composting: home composting, on your own; shared composting, between several households; and on-site composting in institutions, where a school, canteen or care home processes its own food scraps.
Shared composting itself comes in two forms:
If there is a community compost bin near you, you often just need to sign up with the group that runs it. Some sites are full and keep a waiting list: that is the moment to consider a compost bin in your own building.
The process varies from one town to another, but the same steps come up almost every time:
 Gather some keen neighbours. Ideally, bring together 10 to 15 families; some local authorities require at least 7 participating households.
 Contact your local council. It is responsible for food and garden waste, and many councils support projects like this: equipment, training, follow-up. Some only accept applications during campaigns with fixed dates.
 Get permission from the building's management. In a jointly owned building, you will need the agreement of the managing agent or residents' management company; in social housing, that of the landlord and, where there is one, the tenants' association.
 Choose the location. The bins sit directly on the soil, a little away from windows. As an example, a minimum of 5 m² of outdoor space is sometimes required.
 Appoint site volunteers and plan from the start where the compost will be used.
Did you know?Many households still have no suitable way to compost their food waste. Every new shared compost bin means dozens of households can benefit.
A shared compost bin depends on people, not just on bins. The site volunteer is a resident who gives their time. They advise their neighbours, keep an eye on how the compost is doing and organise the harvest. It is best to have at least two, so they can cover for each other during the holidays. Site volunteers can attend a one-day training course.
The master composter is a trained professional, appointed by the council or a local organisation. They help choose the location, launch the site and establish good habits. Ideally, this support lasts at least a year after launch; sometimes it is limited to eight months, followed by an annual visit.
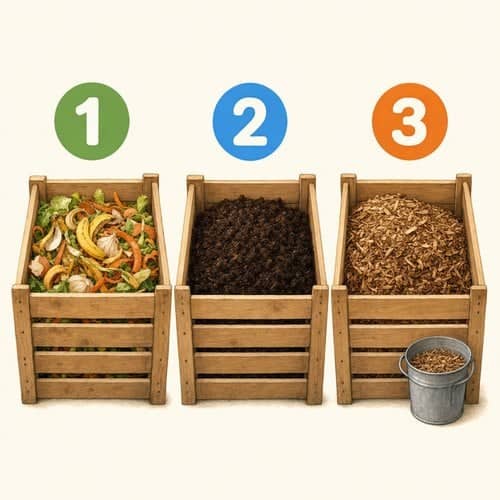 A shared site works with several bins, each with a clearly defined role:
 the input bin, which receives peelings day by day;
 the maturing bin, where the compost rests once the first bin is full;
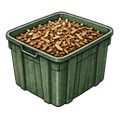 the dry-material bin (wood chips, dead leaves, shavings), essential for covering each addition.
Plan for at least two bins, one of them for dry material. Some sites install three, for example two of 600 L and one of 400 L, and give each household a 7 L kitchen caddy. As for tools, an aerator such as the Brass'Compost lets you mix in new additions without turning the whole bin, and a compost collection trolley makes the group harvest easier. On the diagram: the input bin (1), the maturing bin (2) and the dry-material bin (3).
In a shared compost bin, dozens of people drop off their scraps, often without knowing one another. To avoid smells and rodents, each site adopts a charter, displayed on the bins. It is often more cautious than at home: some sites, for example, keep meat, fish, bones, dairy, sauces, bread and large quantities of citrus out of the bin. We explain why these items are debated in our guide on citrus, meat, bread and pet litter.
Good habits, wherever you are:
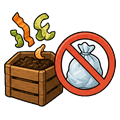 tip your peelings in loose, without a bag, even a "compostable" one;
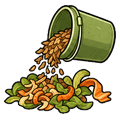 cover each addition with dry material, roughly one bucket of dry material for one bucket of peelings;
 mix lightly on the surface if the site asks you to;
 stick to the opening times of a community compost bin;
 if in doubt, ask the site volunteer rather than dropping it in.
If flies or rodents appear despite everything, our guide on compost bin pests will help you find the cause.
Willy's tipCombine your trip to the compost bin with a journey you already make, such as popping out for bread or heading off to work: dropping off your scraps becomes a habit, and your kitchen caddy never overflows.
A shared compost bin that works well is a lively one. A few get-togethers are enough: a group turning session now and then, a shared harvest in spring, an up-to-date poster. It is also a chance to explain the rules to newcomers.
Spring is the ideal time to get people involved. Many areas hold open days and composting events at this time of year, and some countries run national awareness campaigns: find out from your council or your local waste service what is happening near you. It is a good opportunity to invite your neighbours to discover the site.
First of all, check that it is mature: dark, crumbly, with a pleasant woodland smell. Our simple tests are explained in the guide How to tell if your compost is ready.
The compost is then shared among the participants, for their houseplants, balcony planters or the building's green spaces. That is why you need to plan these outlets from the start: some councils will not support a site that does not have enough of them. Local rules sometimes also specify that this compost must not be sold or given away, as it has not been tested. Check the rules with your local council.
Key pointsA successful shared compost bin comes down to three things: trained site volunteers, a clear charter, and dry material always to hand.
Whether at the foot of a block of flats or in the neighbourhood, shared composting lets people without a garden put their peelings to good use close to home. To set one up, gather a few neighbours, contact your local council, get the agreement of your building's management and appoint at least two site volunteers. After that, it all comes down to simple, clearly displayed rules for what goes in, a stock of dry material, and a little community spirit. If there is no shared solution near you, our guide Composting in a flat presents the other options, such as the wormery.
Scan the code or visit mouttafarm.co.uk/guide: all our practical guides, with links to the products mentioned.



 France
 Belgium
 Switzerland
 Germany
 Austria
 Italy
 Spain
 Holland
 Portugal
 Ireland
 Sweden
 Finland
 Denmark
 Greece
 Poland
 Rumania
 Czech Republic
 USA